Fall Theme
Smiley is fascinated by pumpkins (he already was last year). He completed this pumpkin cycle. I can't remember where I got it, but maybe from Montessori Now?
We then did the same with our Apple Cycle cards...
We baked our first pumpkin muffins of the season. Smiley was an excellent helper measuring the ingredients, pouring, and stirring.
And we all liked the finished product :)
We did quite a few puzzles this week as well...
Waldorf
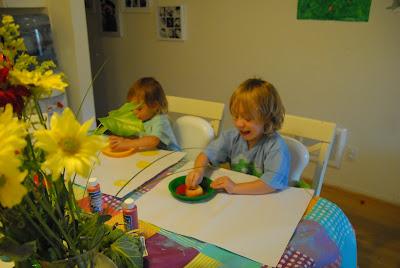
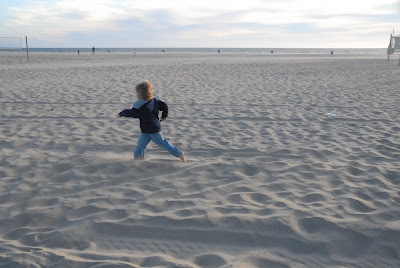
I am beginning to like several Waldorf traditions more and more. One is oral story telling. I found a very cute apple story, that I told the kids. Smiley is very imaginative and LOVED the story. He even jumped in at several points adding some information to the story ;) I told the story LITTLE RED HOUSE, which you can find on page 103 of this booklet. In the end of the story, the little boy finds the little red house, with a star inside by cutting opening his apple, so this is what we did... We then used our apple star to make apple prints.One of the most important parts of our days is going outside. We go for a nature walk, a bike ride, a walk along the beach, or to play at the playground at least once every day, but we try our best to go out twice, once in the morning and once in the evening. I find it so so so important to spend lots of time outside at this young age. My kids have plenty of energy and need lots of time to run around outside and explore nature. One of Smiley's favorite activities is to look for snails, worms and bugs :) He was thrilled when it rained this week and we went on a snail expedition (his name, lol). Another evening this week was spent on the beach. It was quite windy and chilly, which really confirms the change of the season...
We continued to work on sequencing the numbers 10-20 and 20-30, with the help of these fun printables from Confessions of a Homeschooler.
On a different day, I drew a tree and had the kids make a specified number of play dough apples to put on the tree. I got this idea from Homeschool Creations...
The kids were only interested in this idea for a minute. Smiley then made a giant worm, which was much more fun than making apples, apparently. This happens quite commonly by the way, where we start a mama-led game, and after a bit, it turns into child-led play, which is totally fine with me. I think that at this age, kids learn best through play, anyways :)Fine Motor Skills...
In terms of fine motor skills, we worked on cutting this week. Smiley cut apart paint samples from a hardware store. His sister then matched them by color...
After cutting all the pieces, he relaxed on the floor and kept cutting and cutting his pieces into smaller and smaller parts. He plaid that they were tags... He LOVED this. Again, this was totally child-driven and something he truly enjoyed and played for a long time.


